Image Search
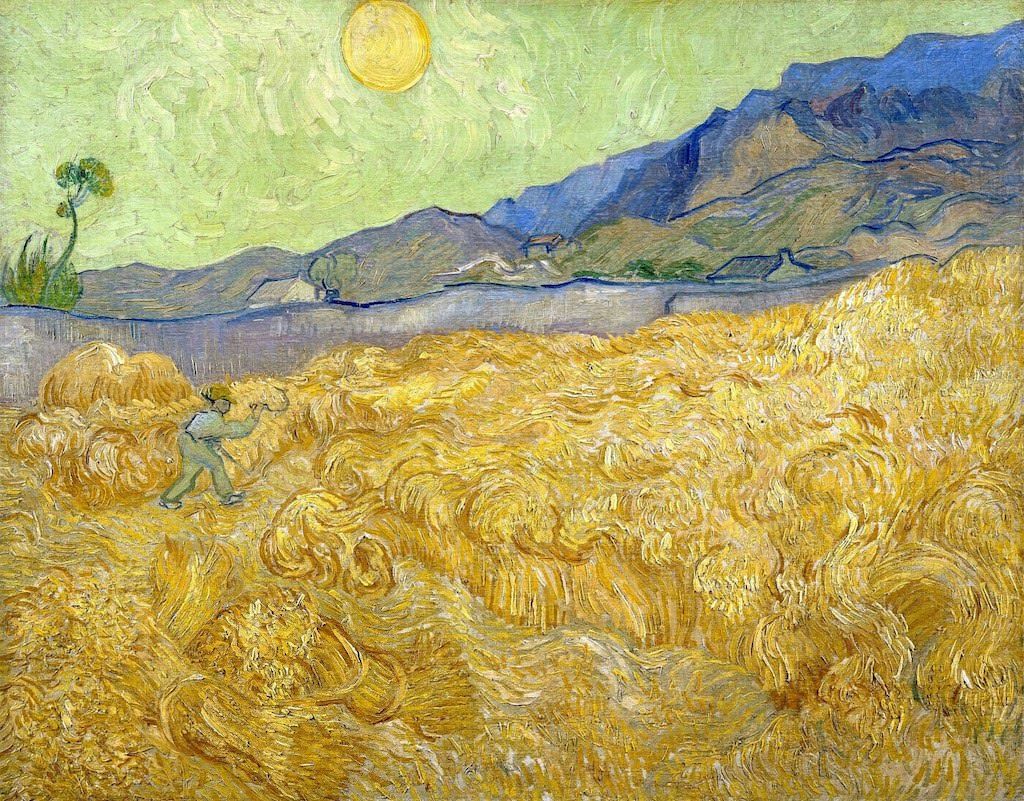
บทความโดย อ.ดร.ณัฐโชติ พรหมฤทธิ์
ภาควิชาคอมพิวเตอร์
คณะวิทยาศาสตร์
มหาวิทยาลัยศิลปากร
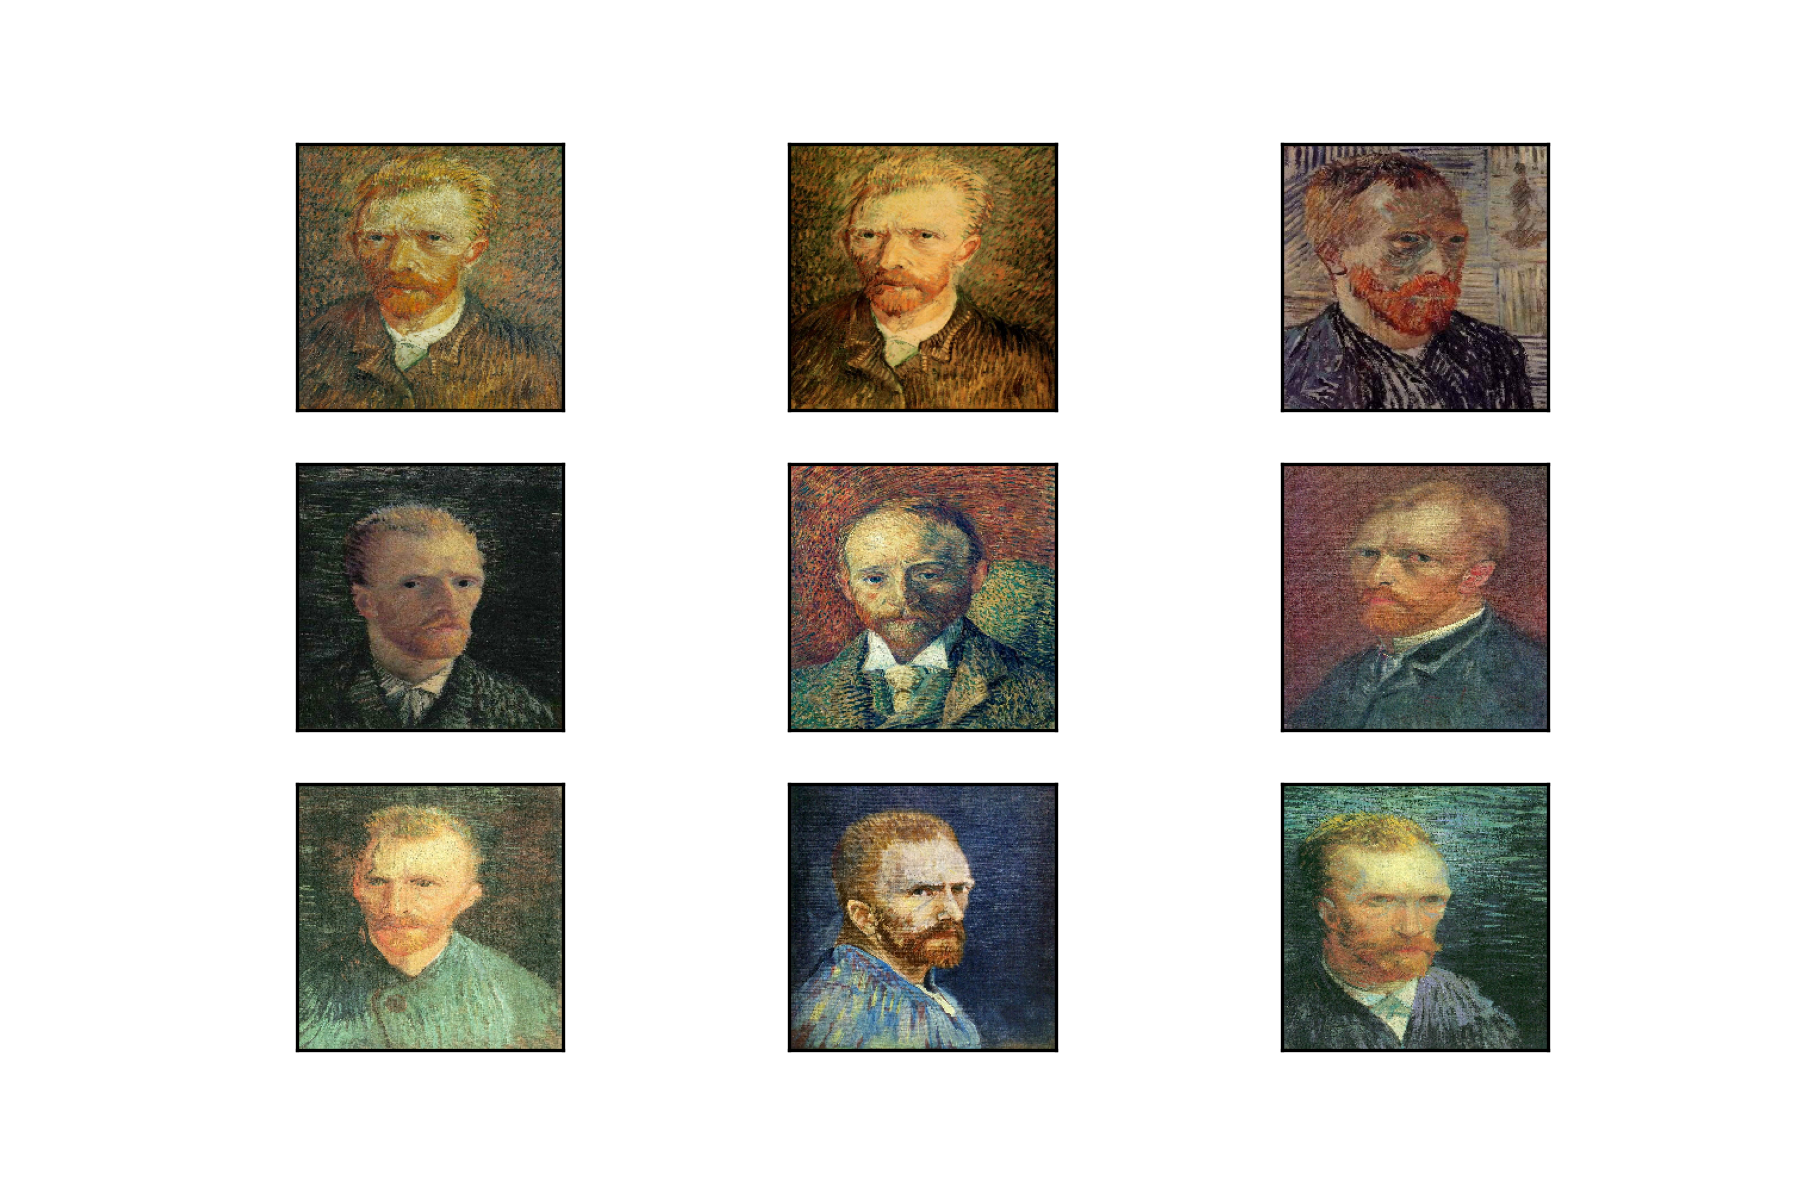
เราจะทดลองค้นหาภาพใน Best Artworks of All Time Dataset ด้วย Feature ที่ได้จาก VGG Model โดยการเลือกภาพที่มีค่า Cosine น้อยที่สุดทั้งหมด 10 ภาพ ดังต่อไปนี้
- Login ที่ www.kaggle.com แล้ว Download Best Artworks of All Time Datasetจาก https://www.kaggle.com/ikarus777/best-artworks-of-all-time?select=images
- Unzip, เปลี่ยนชื่อ Folder เป็น artworks แล้ว Upload ขึ้น Google Drive
.
├── artists.csv
├── images
│   └── images
│       ├── Albrecht_Du?\210rer
│       ├── Albrecht_Du?\225?êrer
│       ├── Alfred_Sisley
│       ├── Amedeo_Modigliani
│       ├── Andrei_Rublev
│       ├── Andy_Warhol
│       ├── Camille_Pissarro
│       ├── Caravaggio
│       ├── Claude_Monet
│       ├── Diego_Rivera
│       ├── Diego_Velazquez
│       ├── Edgar_Degas
│       ├── Edouard_Manet
│       ├── Edvard_Munch
│       ├── El_Greco
│       ├── Eugene_Delacroix
│       ├── Francisco_Goya
│       ├── Frida_Kahlo
│       ├── Georges_Seurat
│       ├── Giotto_di_Bondone
│       ├── Gustav_Klimt
│       ├── Gustave_Courbet
│       ├── Henri_Matisse
│       ├── Henri_Rousseau
│       ├── Henri_de_Toulouse-Lautrec
│       ├── Hieronymus_Bosch
│       ├── Jackson_Pollock
│       ├── Jan_van_Eyck
│       ├── Joan_Miro
│       ├── Kazimir_Malevich
│       ├── Leonardo_da_Vinci
│       ├── Marc_Chagall
│       ├── Michelangelo
│       ├── Mikhail_Vrubel
│       ├── Pablo_Picasso
│       ├── Paul_Cezanne
│       ├── Paul_Gauguin
│       ├── Paul_Klee
│       ├── Peter_Paul_Rubens
│       ├── Pierre-Auguste_Renoir
│       ├── Piet_Mondrian
│       ├── Pieter_Bruegel
│       ├── Raphael
│       ├── Rembrandt
│       ├── Rene_Magritte
│       ├── Salvador_Dali
│       ├── Sandro_Botticelli
│       ├── Titian
│       ├── Vasiliy_Kandinskiy
│       ├── Vincent_van_Gogh
│       └── William_Turner
└── resized
    └── resized
ซึ่งภายใน artworks จะมีภาพของศิลปินชื่อดัง ทั้งหมด 51 คน ตามจำนวน Folder ในภาพด้านบน
- ไปที่ Google Colab แล้วคลิ๊ก NEW NOTEBOOK
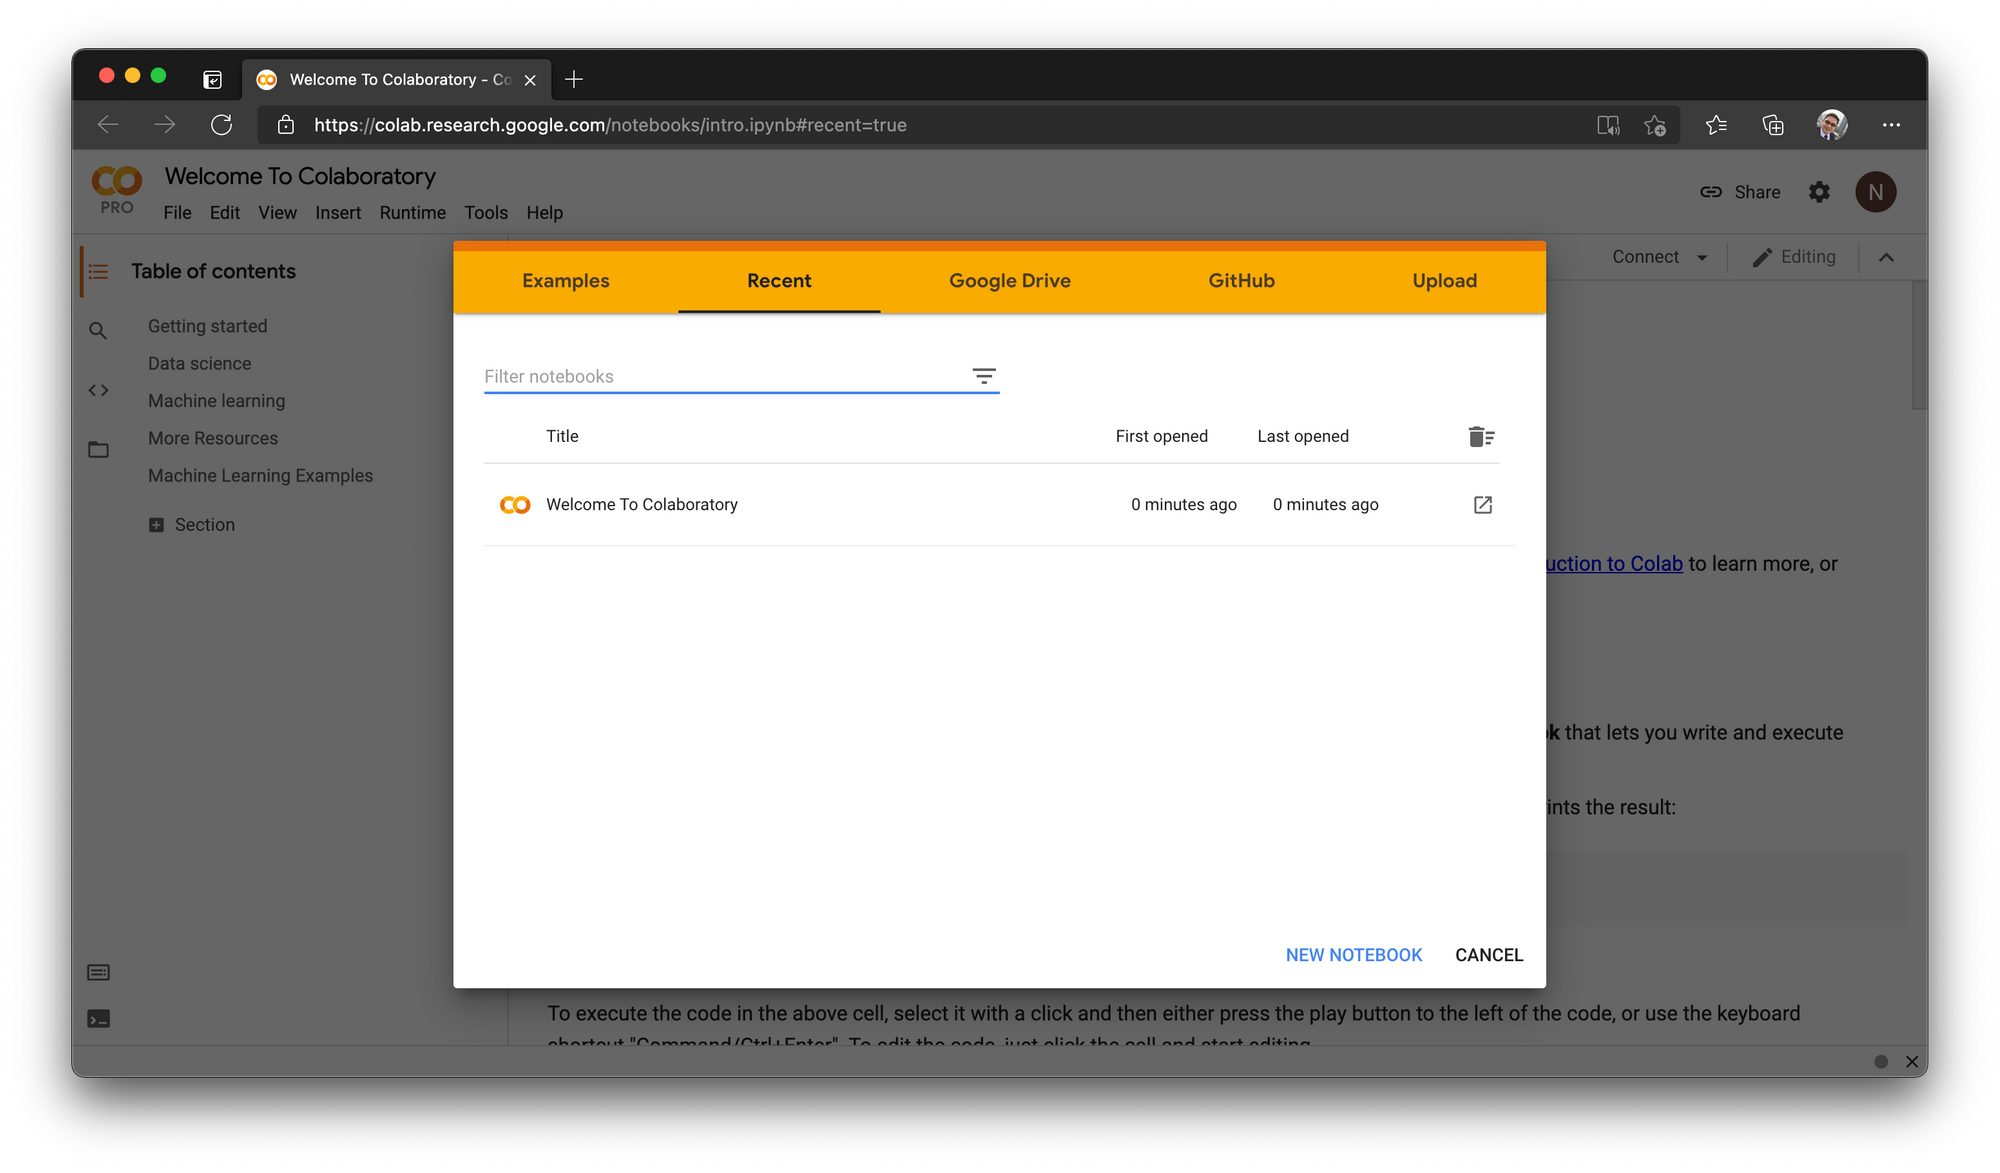
- คลิ๊กที่ Untitled0.ipynb ตั้งชื่อไฟล์เป็น imageSearch.ipynb

- เลือกเมนู Runtime -> Change runtime type
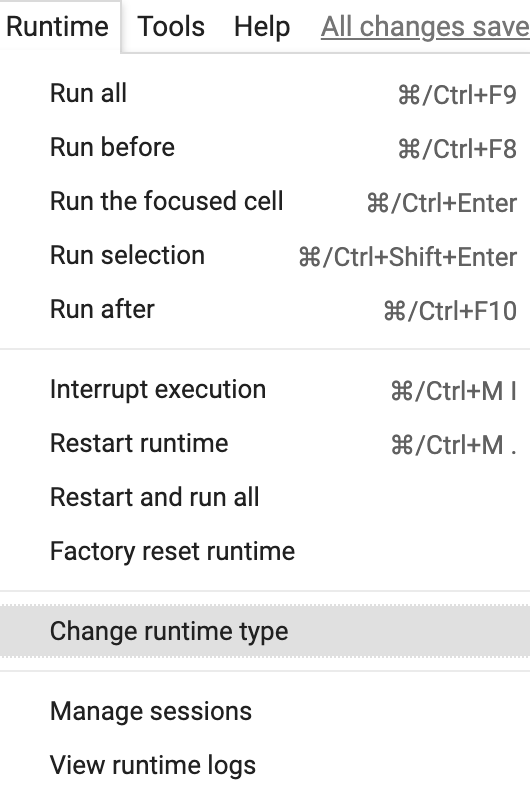
- เลือกชนิดของ Hardware accelerator เป็น GPU และ Runtime shape เป็น High-RAM แล้วคลิ๊ก SAVE

- ตรวจสอบการใช้งาน GPU ด้วยคำสั่งต่อไปนี้
!nvidia-smi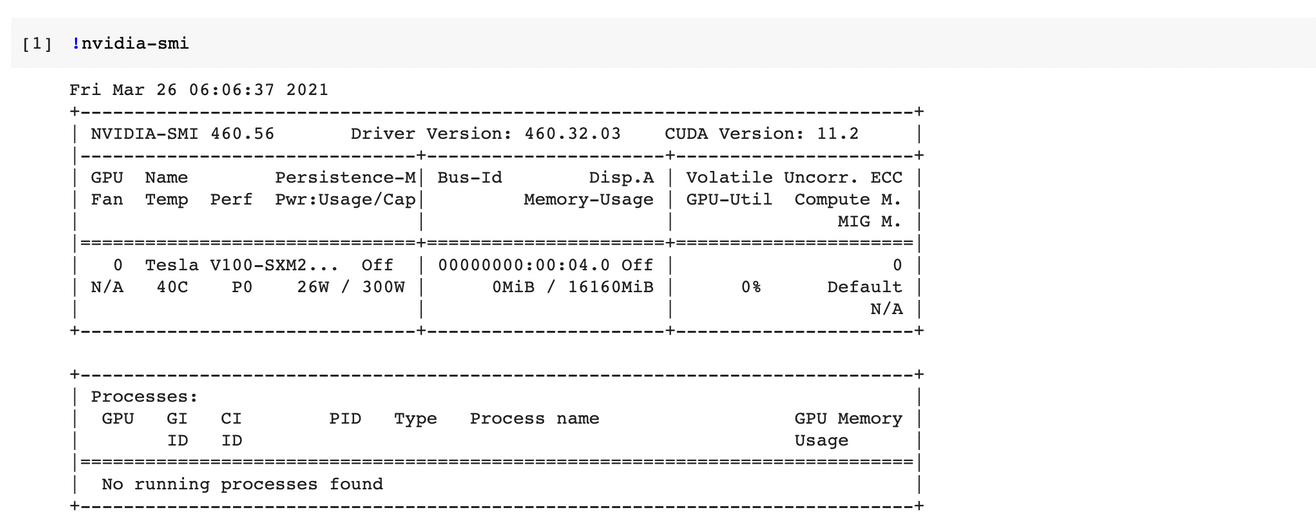
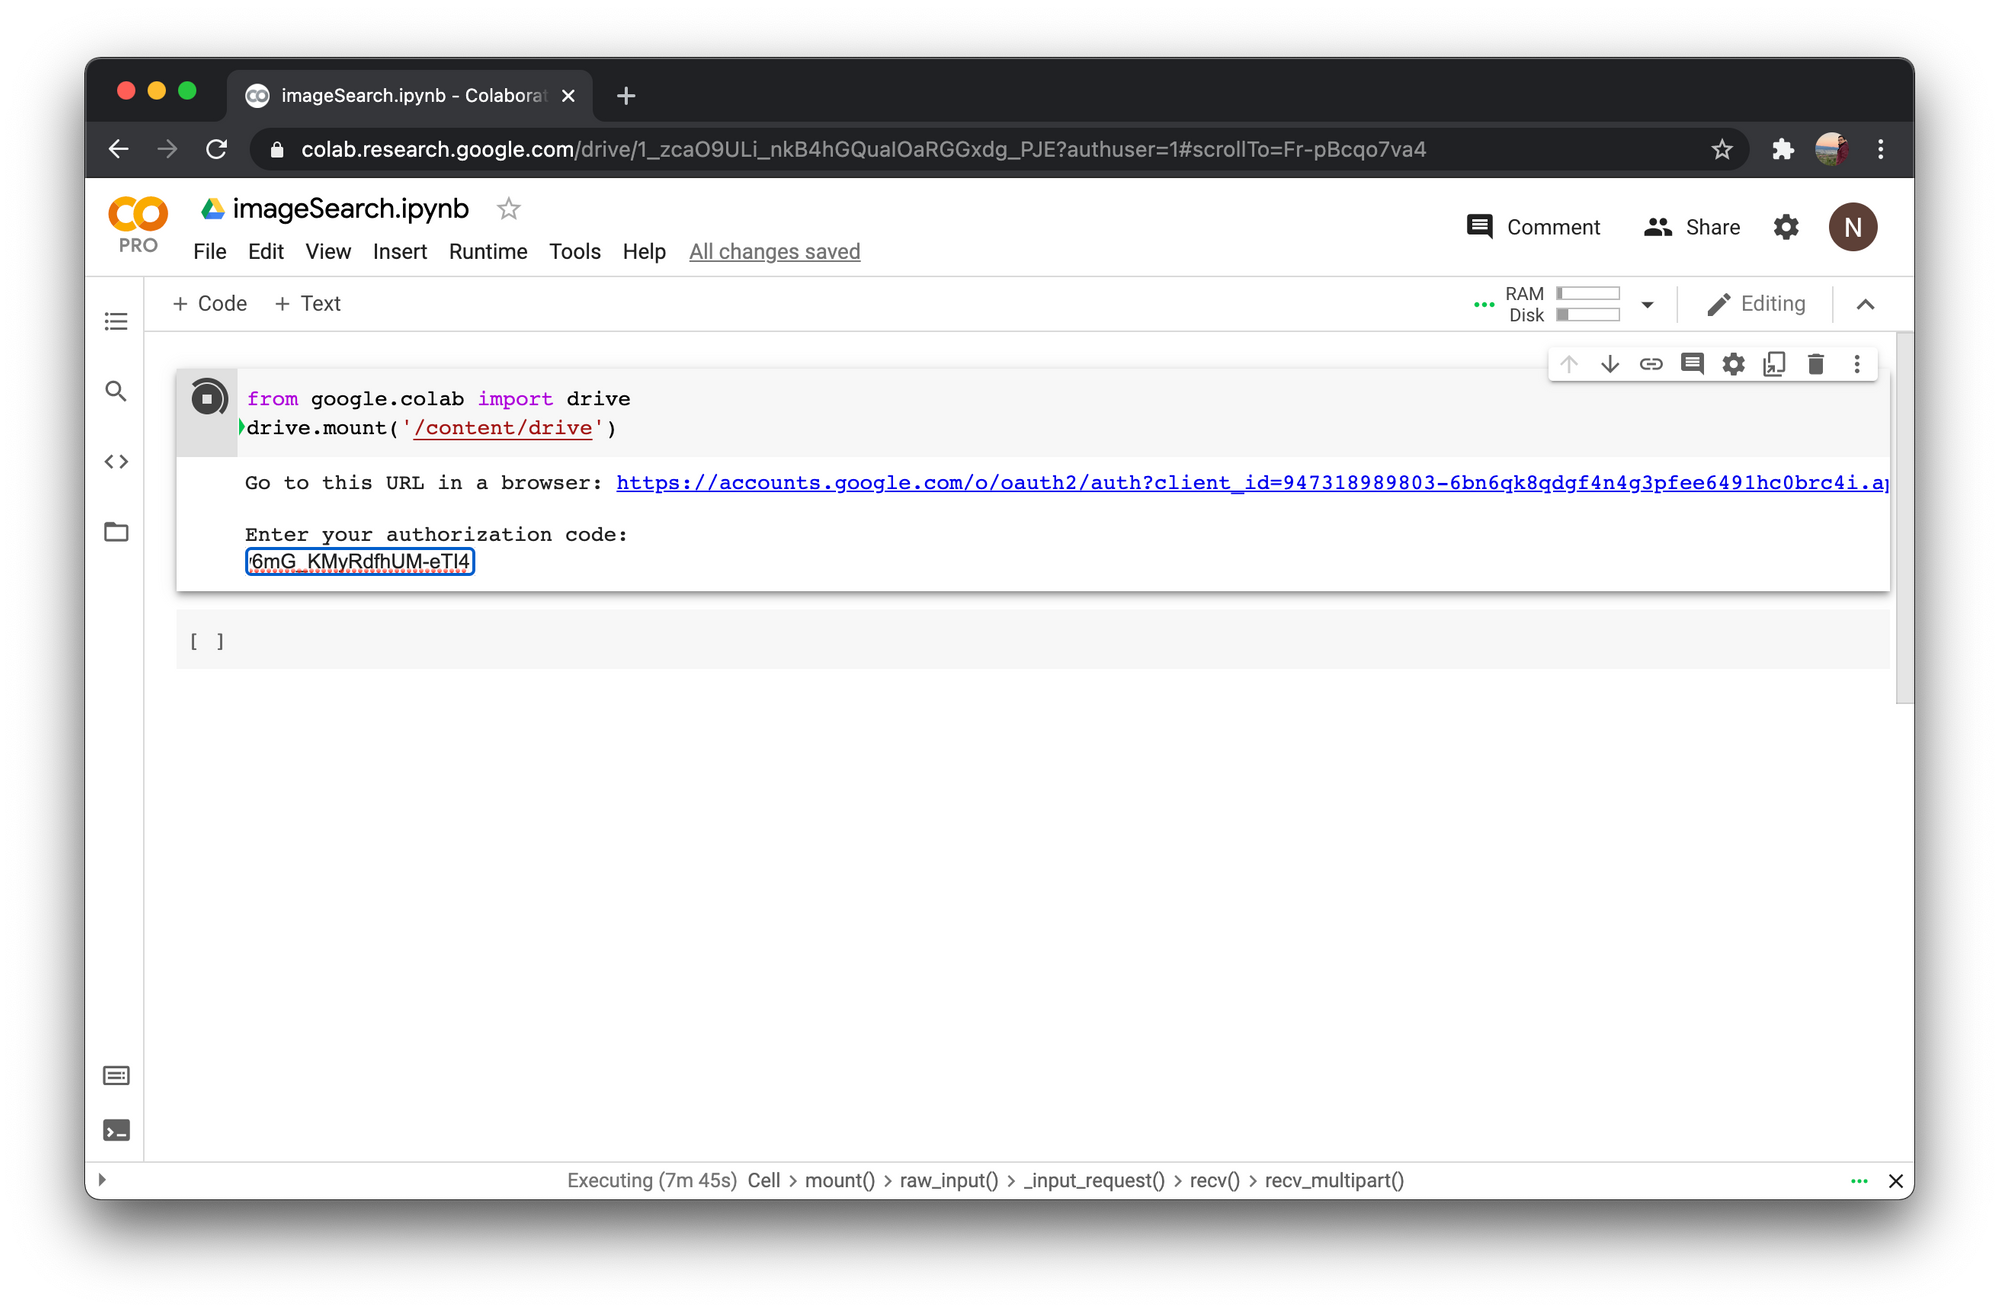
- Mount Colab กับ Google Drive
from google.colab import drive
drive.mount('/content/drive')- คลิ๊ก Link เพื่อขอ Authorization Code สำหรับเข้าถึง Google Drive

ลือก Google Account แล้วคลิ๊ก อนุญาต


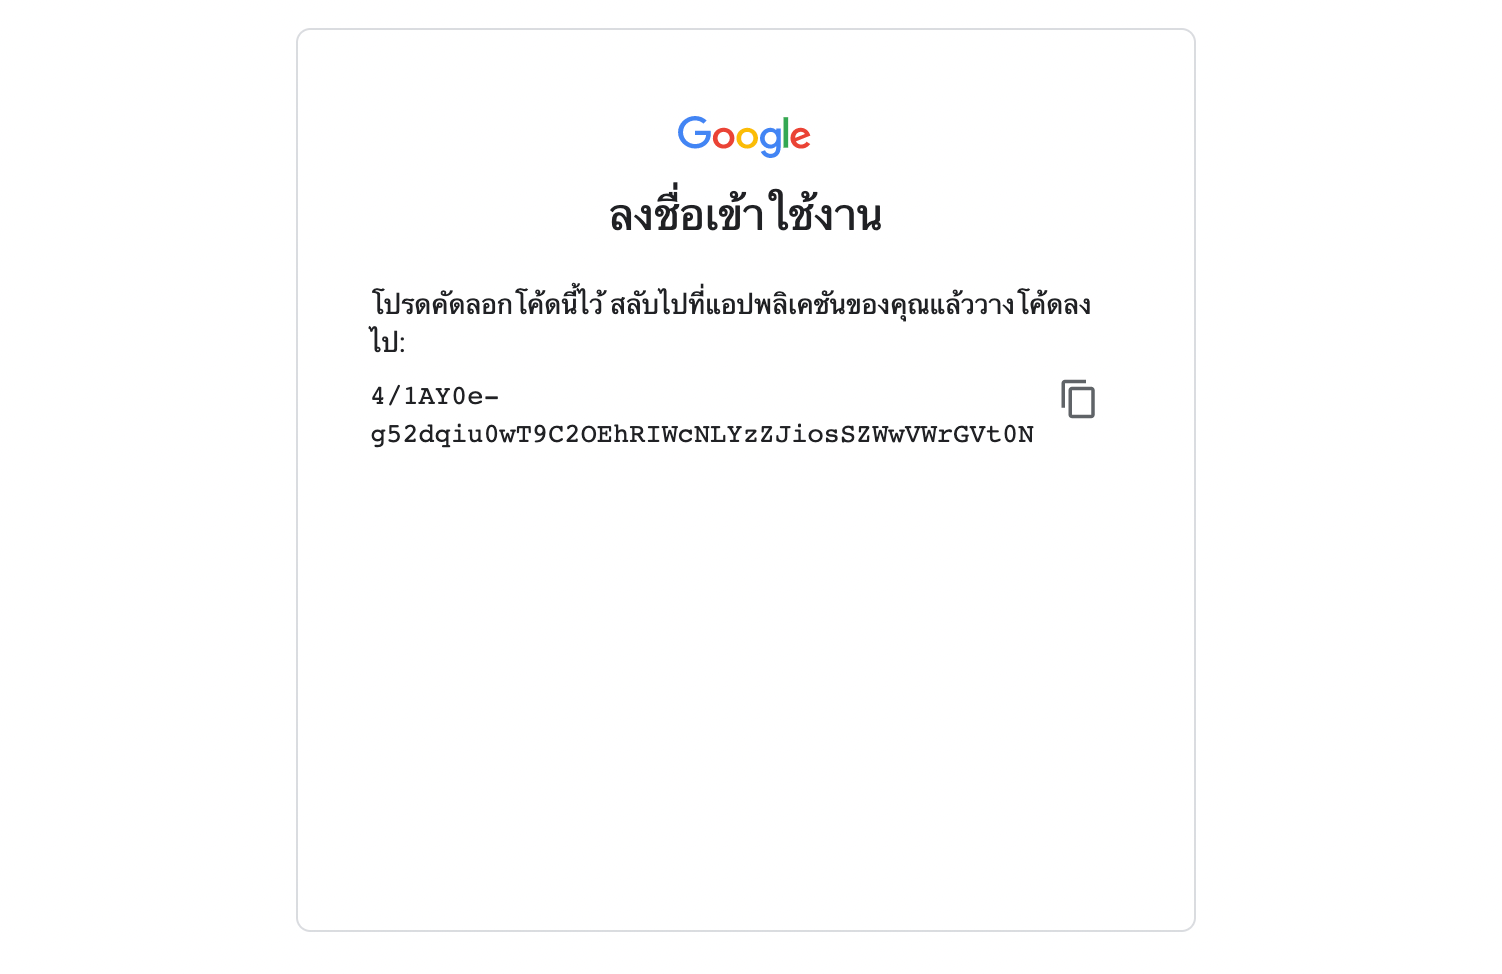
- Copy Authorization Code เพื่อไปวางใน Text Box แล้วกด Enter
- เปลี่ยน Directory (Folder) ปัจจุบันเป็น colabpro_drive
import os
os.chdir("drive/My Drive")- ตรวจสอบ Directory ปัจจุบัน
pwd
- ค้นหาภาพทั้งหมดใน Folder artworks/images/images
import glob

image_path = glob.glob('artworks/images/images/*/*.jpg')

len(image_path)
- Import Library อื่นๆ ที่จำเป็น
import numpy as np

import tensorflow as tf

from tensorflow.keras.preprocessing.image import load_img
from tensorflow.keras.preprocessing.image import img_to_array

import pickle as pic
from sklearn.neighbors import NearestNeighbors
import matplotlib.pyplot as plt- Load VGG Model แบบไม่เอา Top Layer
vgg16_model = tf.keras.applications.VGG16(weights='imagenet', include_top=False)- รวบรวม Feature ของภาพทั้งหมด 8,774 ภาพ ที่ได้จาก VGG Model
feature_list = []
for path in image_path:
    print(path)
    image = load_img(path, target_size=(224, 224))
    image = img_to_array(image)
    image = np.expand_dims(image, axis=0)
    image =  tf.keras.applications.vgg16.preprocess_input(image)
    feature = vgg16_model.predict(image)
    feature = feature.flatten()
feature_list.append(feature)- นิยาม save_feature Function และบันทึก feature เป็น Binary File ชื่อ "feature_list.pkl" ซึ่งพบว่าจะใช้เนื้อที่ทั้งหมด 880.9 MB
def save_feature(filename, feature):
    with open(filename, 'wb') as file:
      pic.dump(feature, file)
filename = 'feature_list.pkl'
save_feature(filename, feature_list)- นิยาม load_feature Function และ Load Feature ลง Memory
def load_feature(filename):
    with open(filename, 'rb') as file:
        feature = pic.load(file)
        return feature
feature_list_hdd = load_feature(filename)- Load ภาพที่ใช้ค้นหา (Query Image)
path = 'artworks/images/images/Vincent_van_Gogh/Vincent_van_Gogh_1.jpg'

query_image = load_img(path, target_size=(224, 224))
query_image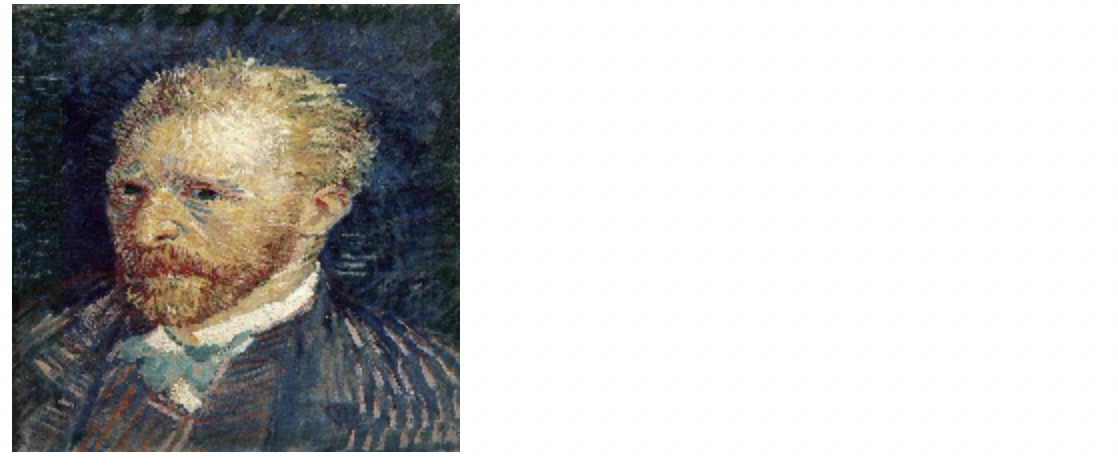
- สร้าง Feature ของ Query Image
query_image = img_to_array(query_image)
query_image = np.expand_dims(query_image, axis=0)
query_image =  tf.keras.applications.vgg16.preprocess_input(query_image)

query_feature = vgg16_model.predict(query_image)
query_feature = query_feature.flatten()- ค้นหาภาพ 10 ภาพที่มีค่า Cosine น้อยที่สุด
nbrs = NearestNeighbors(n_neighbors=10, metric="cosine").fit(feature_list_hdd)distances, indices = nbrs.kneighbors([query_feature])- แสดงภาพที่มีลักษณะใกล้เคียง (ยกเว้น Query Image)
sub = 0
for i in indices[0]:
    if image_path[i] != path:
        ax = plt.subplot(330 + 1 + sub)
        sub+=1

        ax.set_xticks([])
        ax.set_yticks([])

        result_image = load_img(image_path[i], target_size=(224, 224))
        plt.imshow(result_image)

plt.savefig('result.png', dpi = 300)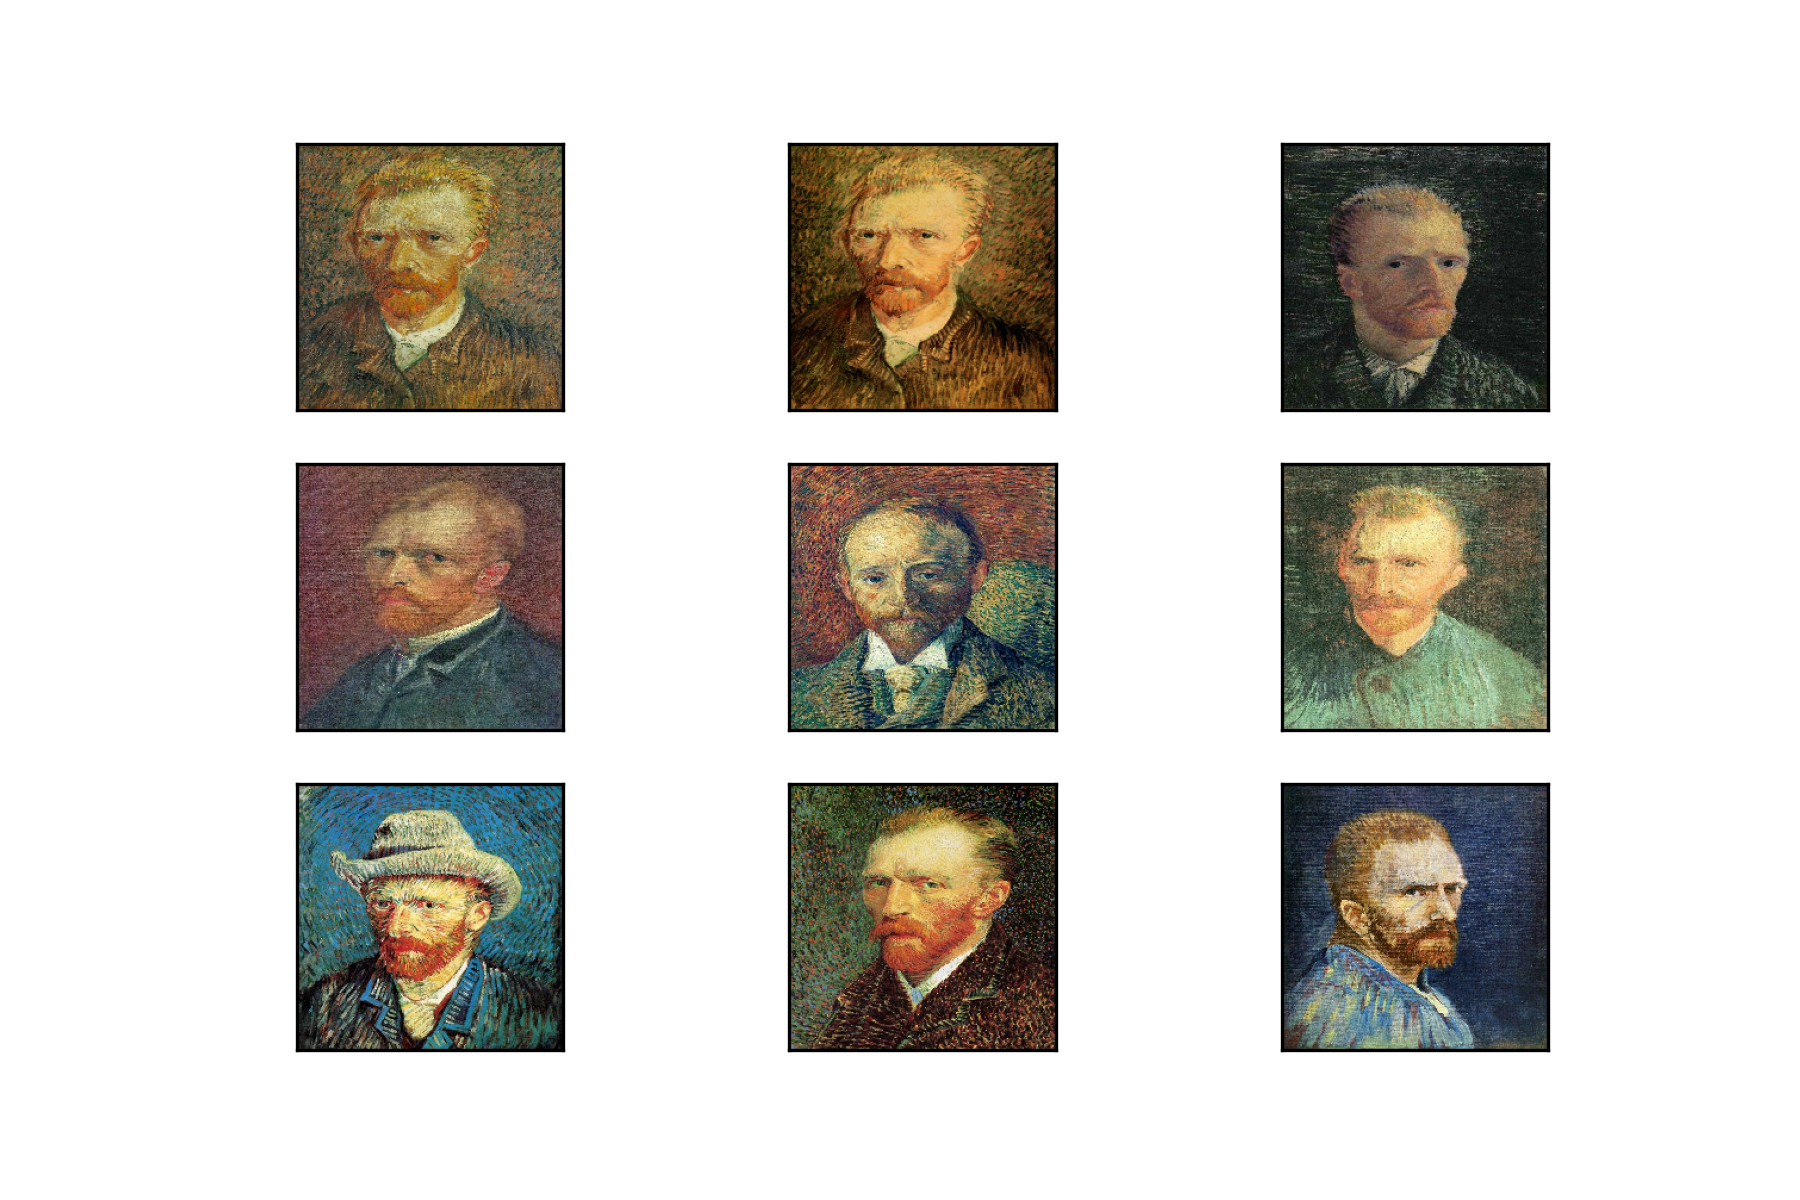
อย่างไรก็ตาม Feature ที่ได้จาก VGG Model ยังค่อนข้างมีขนาดใหญ่ ดังนั้นเราจึงมีการ ปรับปรุง Code เดิม โดยเพิ่ม Average Pooling Layer ที่ปลายของ Model ด้วยพารามิเตอร์ pooling='avg' ในขณะที่มีการ Load VGG Model รวมทั้งตั้งชื่อไฟล์เป็น 'avg_feature_list.pkl'
vgg16_model = tf.keras.applications.VGG16(weights='imagenet', include_top=False, pooling='avg')filename = 'avg_feature_list.pkl'โดยเราจะได้ภาพที่มีลักษณะใกล้เคียง ดังนี้
Query
- เตรียมค้นหา 9 ภาพใกล้เคียง
nbrs = NearestNeighbors(n_neighbors=9, metric="cosine").fit(feature_list_hdd)- นิยาม query Function
def query(path, vgg16_model, nbrs):
    query_image = load_img(path, target_size=(224, 224))
    query_image = img_to_array(query_image)
    query_image = np.expand_dims(query_image, axis=0)
    query_image =  tf.keras.applications.vgg16.preprocess_input(query_image)

    query_feature = vgg16_model.predict(query_image)
    query_feature = query_feature.flatten()
    distances, indices = nbrs.kneighbors([query_feature])
return indices- Upload Image และแสดงภาพใกล้เคียง
from google.colab import files
uploaded = files.upload()

path = list(uploaded.keys())[0]
indices = query(path, vgg16_model, nbrs)

sub = 0
for i in indices[0]:
    ax = plt.subplot(330 + 1 + sub)
    sub+=1

    ax.set_xticks([])
    ax.set_yticks([])

    result_image = load_img(image_path[i], target_size=(224, 224))
    plt.imshow(result_image)

plt.savefig('result.png', dpi = 300)